Print templates for
name cards
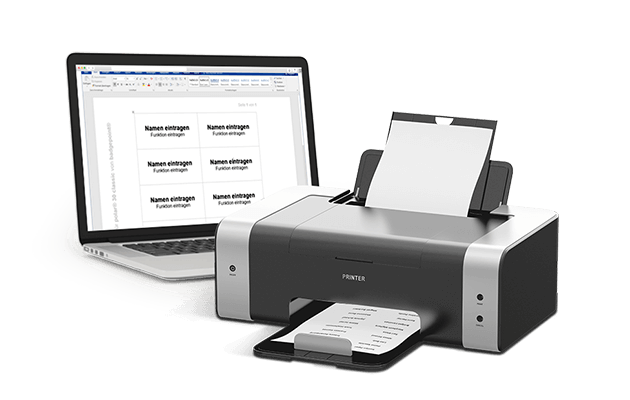
Print templates for Microsoft® Word
Download free of charge here
DIN A4 - Select your name tag model
US-Letter - Select your name tag model
Can't find what you're looking for? Need advice?
Contact us – we’re always happy to help.
Print your own name cards
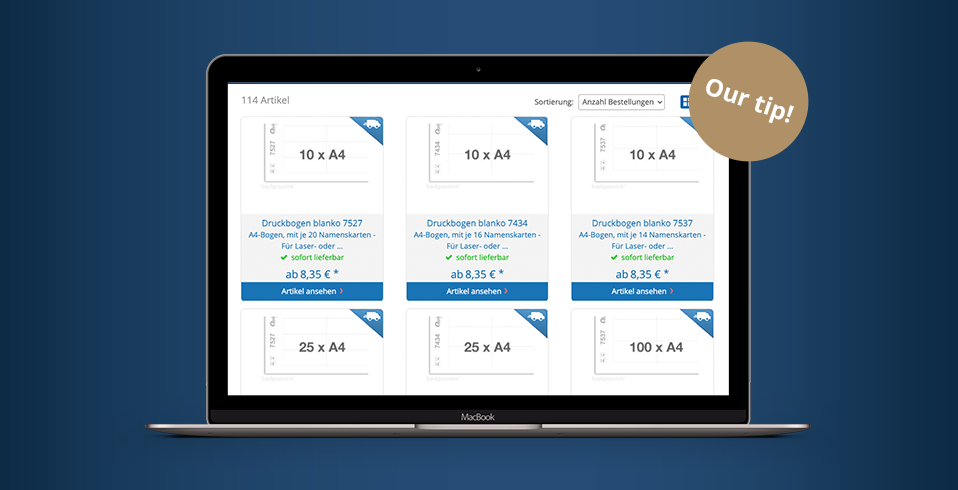
Order the right printing sheets
Label your name cards with ease using our free print templates for Microsoft® Word. You can order suitable printing sheets together with the name cards here in our online store under Accessories. Thanks to their unique Quick&Clean™ technology, you can separate the cards from the sheet easily before sliding them smoothly into the name tag holder. Giving you the same high-quality finish with extra smooth edges that you would get from a print shop.
Order printing sheets now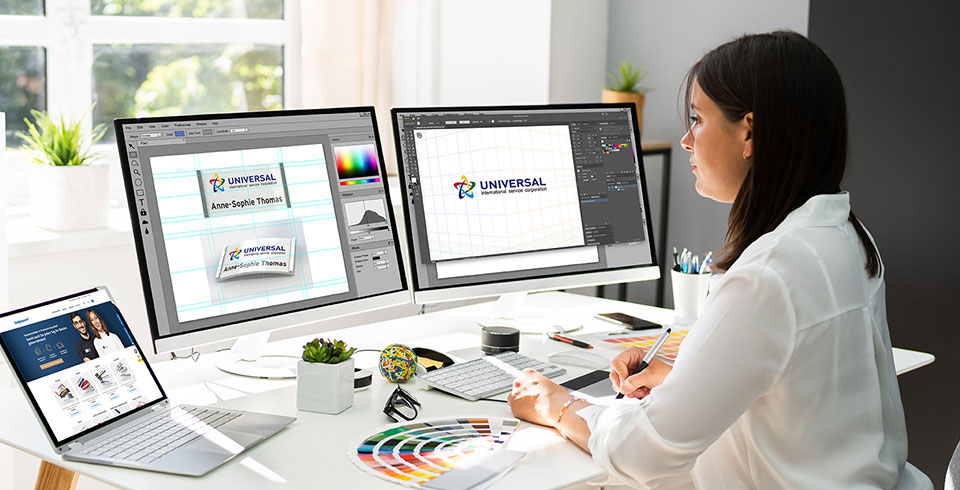
Alternative to self-printing
Let badgepoint® print your name badges
The ultimate in convenience. If you’re under time pressure or you need a large number of name tags, then why not make use of our all-in-one service? Let our in-house designers handle the designing and amaze you with their creative proofs. We offer you the printing of the name cards as well as the packaging at a fair price. You will then receive ready-to-wear badges that you can use straight away.
Request our design service nowHow to use our print templates for labeling in Microsoft® Word
Open the appropriate template for your chosen name tag. In the template you will see a pre-set grid that corresponds with the printing sheet. Fill in your logo, names and any other lines of text in the individual cells. Please note that the Word functions available can vary according to the version you are using and your personal settings.
1. Turn on gridlines
To make positioning easier, we recommend you make the gridlines visible. Go to "Table Tools → Layout", click "View Gridlines" and turn the guide rules on and off as you wish.
2. Insert logo
Go to "Insert → Pictures", select your logo and insert the image in the template.
3. Set the position and alignment of your logo
Click on your logo and the "Picture Tools" tab will appear. Select "Text Wrapping", then "Behind text", so you can move the logo independently of the text lines. Reduce your logo to fit. Click on "Position" to set the alignment of the image to left, center or right. Or, for variable positioning, click on the logo and drag it with the four-headed arrow cursor.
4. Insert names and functions
Enter the longest name in the first line ("Enter name"), choose your desired font and adjust the font size. We recommend using a font that is easy to read, such as Arial 16 pt. If the second line ("Insert function") is not required, delete it from your layout.
To adjust the spacing up or down, click on "Page Layout → Spacing" and adjust the values in the “Before" and "After” fields, so the lines of text are positioned at the required distance from the logo.
Take care not to change the height of the table cells as you work.
5. Copy a table cell
For each new name tag, copy the entire content of the first name card into the adjacent table cells and enter the relevant names and functions. It is not possible to fill in multiple cells at the same time.
6. Insert/delete additional name cards
Place the cursor in the last cell and select "Table Tools → Layout → Insert Below" to insert as many rows as you need. Any rows not required can be removed by clicking "Delete → Delete cells".
7. Print your name cards
Now it's time to print out your name cards on the badgepoint® printing sheet. Please follow the printing instructions on our printing sheet. If you are printing on standard photocopy paper, we recommend you add narrow border lines in the table cells to aid separation.


